How do I measure for Channel Glass Wall Systems installation?
Hey there! I'm a supplier of Channel Glass Wall Systems, and I know that getting the measurements right is super crucial when it comes to installing these systems. In this blog, I'll walk you through how I measure for Channel Glass Wall Systems installation, sharing some tips and tricks along the way.
Understanding the Basics
Before we jump into the measuring process, let's quickly go over what Channel Glass Wall Systems are. These are vertical glass panels formed into a channel shape, which provide both structural support and aesthetic appeal. They're commonly used in commercial and residential buildings for partitions, facades, and more.
Tools You'll Need
First things first, you'll need the right tools for the job. Here's what I usually grab:

- A good-quality tape measure: Make sure it's long enough to measure the full height and width of the installation area. I prefer a 25 - foot or 30 - foot tape measure.
- A laser level: This helps ensure that your measurements are straight and level. It's a real time - saver, especially for larger installations.
- A pencil and paper: To jot down your measurements and any notes you might need.
- A framing square: Useful for checking right angles and making sure everything is square.
Measuring the Height
The height measurement is pretty straightforward but still needs to be accurate. Start at the floor level where the bottom of the channel glass will sit. Make sure the floor is clean and level; any unevenness can affect the installation.
I usually measure from multiple points along the floor to the ceiling or the point where the top of the glass will be installed. This is because floors and ceilings might not be perfectly level. Measure at the corners and a few points in between. Write down each measurement and then take the average. This average will be your official height measurement.
For example, if you measure 10 feet at one corner, 10 feet 1 inch at another corner, and 10 feet 2 inches in the middle, add these measurements (10 + 10 + 1/12+ 10 + 2/12 = 30 + 3/12 feet) and divide by 3. The average height would be 10 feet 1 inch.
Measuring the Width
When it comes to measuring the width, it's a bit more complex. You need to consider the overall span of the wall and any obstructions like columns or doors.
Start by measuring the distance between the two end points where the channel glass will be installed. Again, measure at multiple heights, as the width can vary from the floor to the ceiling.
If there are obstructions in the middle, measure around them. For columns, measure the distance from the edge of one side of the column to the corresponding edge on the other side. Make sure to note the position of the column and its width. This will be important when it comes to cutting the glass panels.
Let's say you're installing a channel glass wall between two walls with a column in the middle. Measure the distance from the left - hand wall to the left - hand side of the column, then the width of the column, and finally the distance from the right - hand side of the column to the right - hand wall. Add these measurements together to get the total width.
Accounting for Expansion and Contraction
Glass expands and contracts with temperature changes, so it's important to account for this in your measurements. I usually leave a small gap around the edges of the glass panels. A good rule of thumb is to leave about 1/8 to 1/4 inch of clearance on all sides.
For example, if your measured width is 12 feet, when ordering the glass panels, you might want to order them a bit narrower, say 11 feet 11.5 inches, to allow for expansion.
Special Considerations for Different Patterns
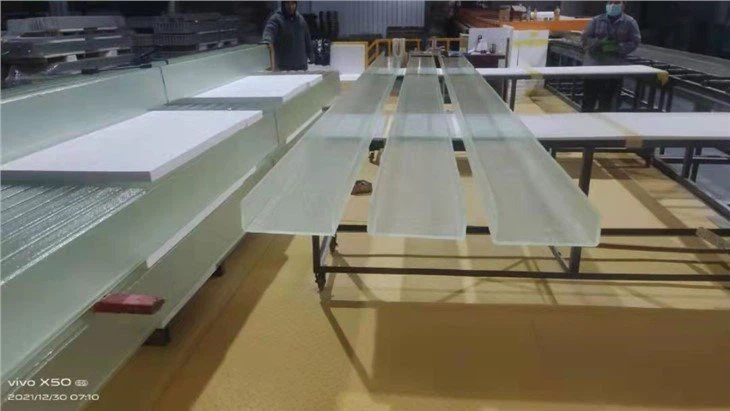
We offer different types of channel glass, like Clear Patterned U Channel Glass, Low Iron White U Profile Glass, and Low Iron C Glass. Each pattern might have slightly different installation requirements.
Some patterns might have a more pronounced texture, which could affect how the glass fits into the channels. Make sure to check the product specifications for each type of glass and adjust your measurements accordingly. For instance, a glass with a deeper pattern might need a slightly wider channel to fit properly.
Double - Checking Your Measurements
Once you've taken all your measurements, it's always a good idea to double - check them. Measure everything again from a different starting point or using a different method. This helps catch any errors that might have slipped through the first time.
I also like to have a second person verify my measurements. Two pairs of eyes are better than one, and they might spot something I missed.
Preparing the Installation Area
After getting accurate measurements, it's time to prepare the installation area. Make sure the area is clean and free of debris. If there are any rough spots on the floor or walls, smooth them out.
Check the structural integrity of the area. The walls and floor need to be able to support the weight of the channel glass. If you're not sure, it might be a good idea to consult a structural engineer.
Ordering the Right Amount of Glass
Based on your measurements, you can now order the right amount of channel glass. Calculate the number of panels you'll need by dividing the total height and width by the size of the individual glass panels. Don't forget to account for any waste or extra panels you might need for cuts and replacements.
For example, if your wall is 10 feet high and 12 feet wide, and the glass panels are 5 feet high and 2 feet wide, you'll need 2 panels for the height (10 / 5) and 6 panels for the width (12 / 2), so a total of 12 panels. But it's always a good idea to order a couple of extra panels, just in case.
Conclusion
Measuring for Channel Glass Wall Systems installation might seem like a daunting task, but with the right tools and a systematic approach, it can be done accurately. Remember to account for expansion, double - check your measurements, and prepare the installation area properly.
If you're interested in purchasing our Channel Glass Wall Systems, whether it's Clear Patterned U Channel Glass, Low Iron White U Profile Glass, or Low Iron C Glass, we're here to help. Feel free to reach out to us for more information and to start the procurement process. We can provide you with detailed product specifications and assist you in getting the right measurements for your project.
References
- "Glass Installation Handbook" by Glass Association of North America
- "Building Construction Handbook" by Arthur B. Gunther